
Introduction
This worklog is for for the original Xbox, specifically for Halo 2 – the first post regarding this project on the Xbox-scene forums was done on Oct 7 2006, 01:19 AM.
Before jumping into this, I want to note that with a little bit of knowledge, you should be able to apply this hack to any consoles controller almost identically how this one is done – though with a modern console, you should apply it to an analog stick so that no console mods are necessary.
Requirements
- Modded Xbox
- Trainer Launcher
- Halo 2 D-Pad Movement Trainer
- Halo 2
- Xbox Controller
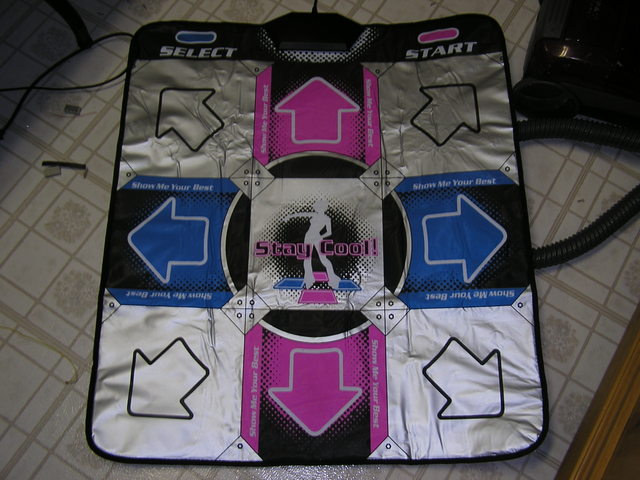
- A DDR Pad
- Soldering Iron
Procedure
Over the years, video games have changed dramatically. No longer do we look at games with simple 8 bit graphics such as pong, now we both have and expect video games with realistic environments. However, the same cannot be said for the controller. While systems such as the Wii have revolutionized gameplay inputs, the norm is still the simple controller. When I started my initial research into this project, controlling a game the way a Wii does was unheard of. That being said, I wanted to create a way to interact with games using my full body, and thus, VG Interactive was born. I originally had this idea after looking at lukeoock459’s VR mod. While the pictures may be long gone, but basically he took an Xbox controller, desoldered the control stick, wired the stick upside down to a pair of goggles, and added a weight to the stick. If he looked up, the weight pulled the stick down, and it was the same for left, right, and down.

I wanted to take his idea, and make it better, so that’s where my idea came from. This is the modified version of VG interactive for the Xbox version of Halo 2, however if any game allows player movement (as in walking) through the D-Pad, then this should work. This won’t work in Halo 2 without a modded Xbox, since you need to run a trainer (Halo 2 D-Pad Movement Trainer) that Xbox7887 kindly created for me almost two years ago to allow movement through the D pad. The reason I chose the D-Pad to solder to is due to the fact that the D-Pad has four digital inputs (Four switches that when the button is pushed down, the switch activates), while the thumbstick is an analog input. Instead of having to create a converter, it’s simpler just to simply extend the wires to the dance pad, since the dance pad works in a similar function. This also allows for the user to grab the stick and move it if they feel the need to, they aren’t limited to a controller.
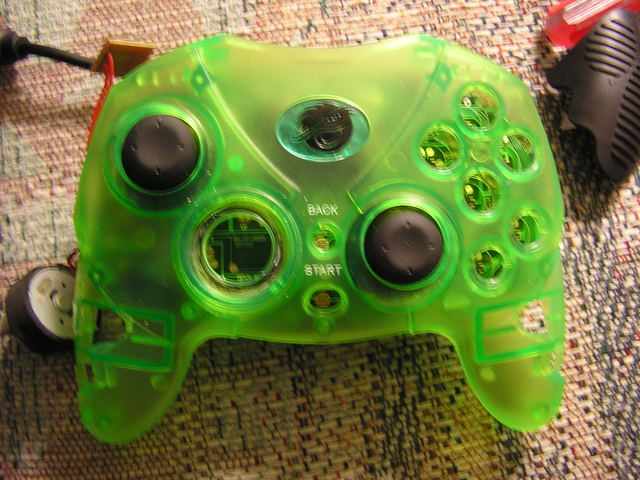
To begin with, you need a couple of items; the Controller and DDR Pad.

Start by unscrewing the “control box” at the top of the DDR Pad. This is the black plastic case that is at the top of the pad, where the wires come from. When unscrewed, you should see a PCB board.

Flip over the dancepad so you’re looking at the back of the board, where you’ll see a foam “bar” holding the flexible dance pad contacts in place to the board. Pull the board off, leaving the contacts still attached to bar, and the PCB board separate. In the pictures below, you’ll see I didn’t do this step, however these pictures were taken way before my final prototype, so make sure you leave the foam connected to the flexible contacts. When you have the PCB board connected to the wire separated, cut the wire as close to the board as possible, since we will use it later. At this point, you can ditch the board, you’ll never need it again.


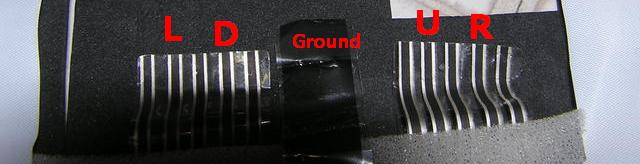
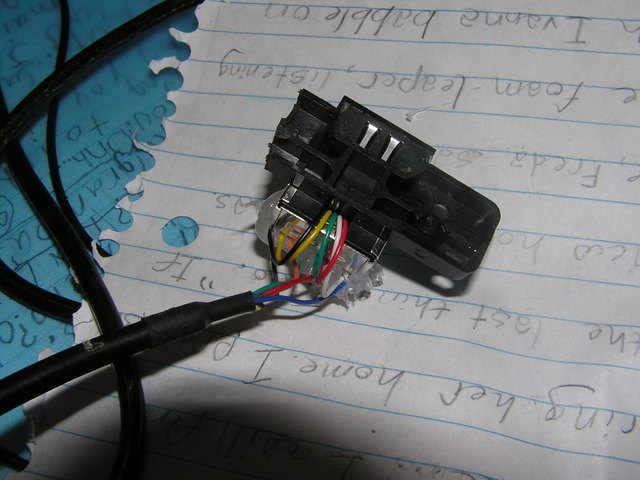
Now, the last image above is what I found to be the “flexible contacts” to each direction to the pad. Up is U, Down is D, ect. While the contacts may not be the same on yours, you can find it out by some simple testing. When you step on left for example, your simply connecting the ground to the L wire, so if you attach an LED to a battery and the ground of the LED to the L (with the battery ground connected to the Pad’s ground), if you step on left, it should light up. Do some testing before you do the next step. The reason we saved the Xbox cord in the last step can also be explained in the last picture. The Xbox cord has 5 wires, so when we connect the Dance Pad to the controller, L, D, U, and R can be connected to separate wires, while the ground is connected to the fifth.
Now that we have the contacts identified, we need some way of connecting a wire to each of them. I actually ended up wasting three different dance pads testing different solutions such as conductive glue, and trying to attach tin foil to them to extend them. I finally found the perfect solution, alligator clips. If you get small ones, they can even fit inside the black case that you originally unscrewed. I ended up attaching a clip to each of the 5 wires from the original cord we saved. In my case, I did the following:
Black = Ground
Red = Up
White = Right
Green = Down
Yellow = Left


The picture above is actually from my conductive glue test, but you should be able to get an idea of what I mean from it. I would attach those clips to each of the contacts, and solder a wire on. When done, I put the original black case over it (You may need to take out the saw and cut some of the inside of the black case up, it has “support beams” that may get in the way), and then proceeded to fill it up with hot glue, so the contacts would never move. I’d recommend it, since technically you’ll never need to open it again. However, you may want to wait till everything is done before doing that, if you made a mistake, you’ll be able to fix it.

Now that the pad is done, we need to work on the controller portion. Take your controller, and unscrew it. Take off the front and back part of the case, leaving the bare PCB exposed. Take the case, and remove the D-Pad directional pad. Now put the front back over the PCB to make sure everything lines up.

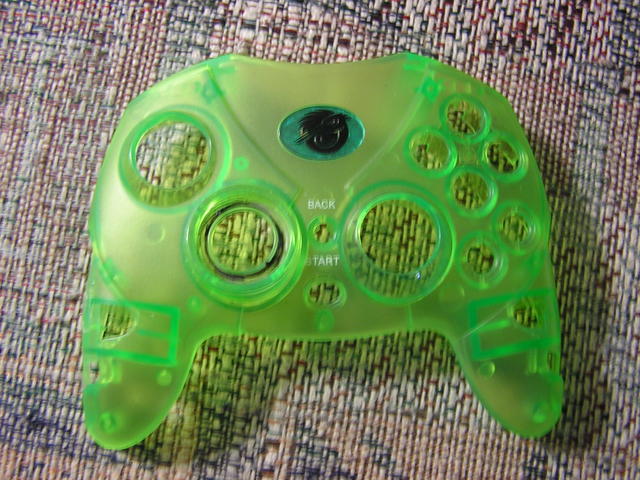
Now, in my case, I had a spare Xbox controller port laying around. I decided that I wanted to solder that to the controller instead of the DDR Pad directly, so I could easily separate them. Though in this guide you’ll see the port being soldered on (the colors remain the same), you can easily directly solder the pad on too.
In the above picture, you can see that I found a common ground on the controller, and then wired up each switch individually. This is most likely going to need to be retested for your controller to see what button does what, so make sure you do that. When your done soldering everything, test out your work of art.


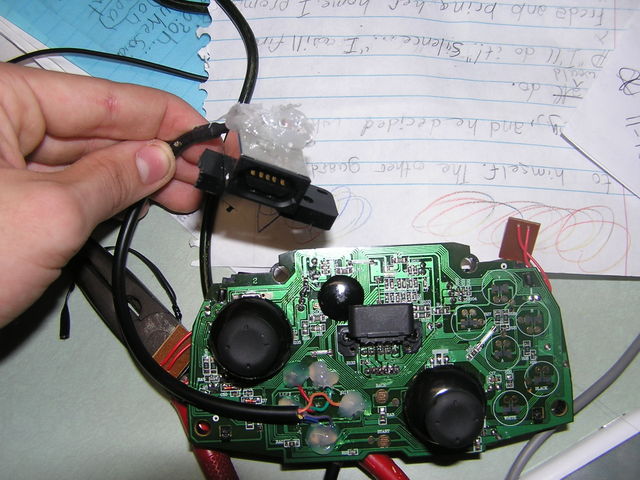
Instead of soldering the dancepad directly to the controller, you can see I attached a port to the Xbox controller so that I can easily detach the pad when needed.
The next step in hacking is to put the case back together.


Conclusion
There you have it, the physical hacks are done. If you want to test your connection, you can actually test it on the computer through USB. If you follow this guide on making an Xbox to USB cable, you can plug it into your computer, and use the program mentioned (XBCD) to test it.
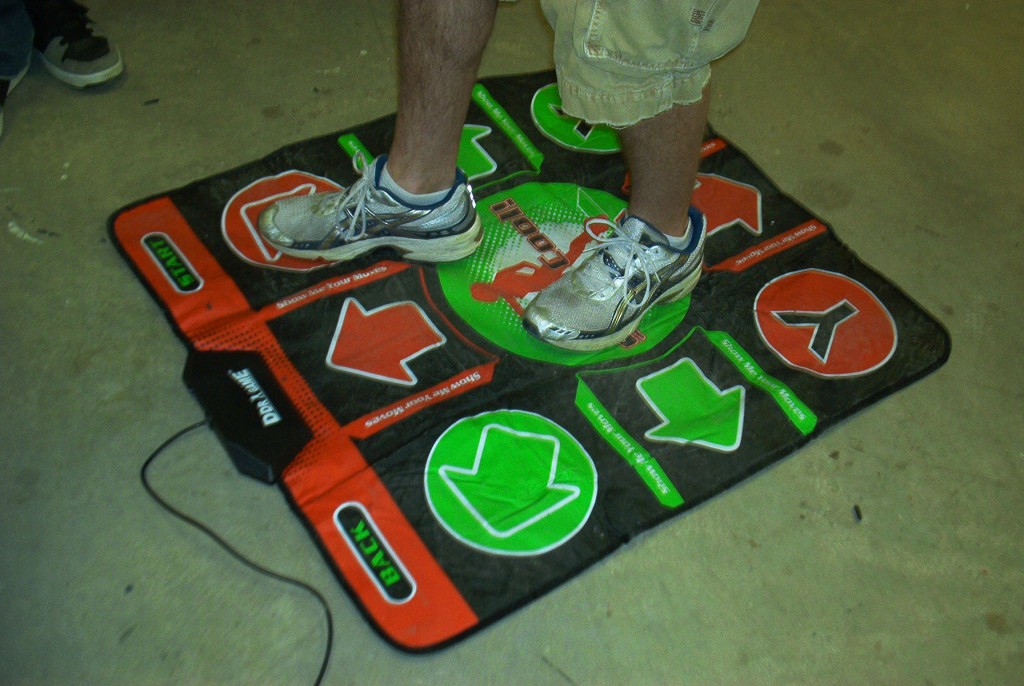
Congratulations! If you have the xbox trainer installed, load it up in Halo and test it out – you should now be able to move around using the DDR Pad.
Leave a Reply